
Art History Facts: 5 Ways to Look More Closely at Art
Art history facts are more useful when they help you notice something you might otherwise miss. You do not need to memorise a long list of dates before looking at a painting, print, sculpture or textile. Start with the object in front of you, describe what you can actually see, and only then ask what its details might mean. That small pause keeps a first impression from turning into a confident but unsupported story. These questions work with a museum visit, a reproduction online, or your own workbench, and they make looking active rather than passive.
It also helps to remember that the familiar labels—Renaissance, Baroque, Impressionism—describe particular histories; they are not a complete map of art around the world. The Metropolitan Museum of Art’s Heilbrunn Timeline of Art History, for example, brings themes, chronology and geography together. You can use the same flexible approach with one object: look closely, ask better questions, and follow the evidence.

1. Describe what you can see before interpreting it
Give yourself a few seconds to look before naming a style or guessing what the artist intended. Notice the overall shape and scale. Where does your eye go first? Which lines, forms or colours guide it around the image? Is the scene crowded or open, still or full of movement? These are observations. “The red shape pulls my eye to the centre” is more precise than “red means anger,” because it tells another reader what you noticed without turning a personal response into a universal rule.
Try moving from the whole to one detail. Follow a line from edge to edge, compare the darkest and lightest areas, or look at the way figures relate to the background. If a work is an object rather than an image, note its shape, balance, surface and how it might be handled or viewed. The National Gallery of Art’s guidance on describing collection images recommends starting with a clear overview and choosing a route through visible details. That is a useful habit whether you are writing for someone else or simply learning to look.
Keep a short list of what is plainly there. It gives you something solid to test when you begin making sense of the work.
2. Look at the material and the way it was made
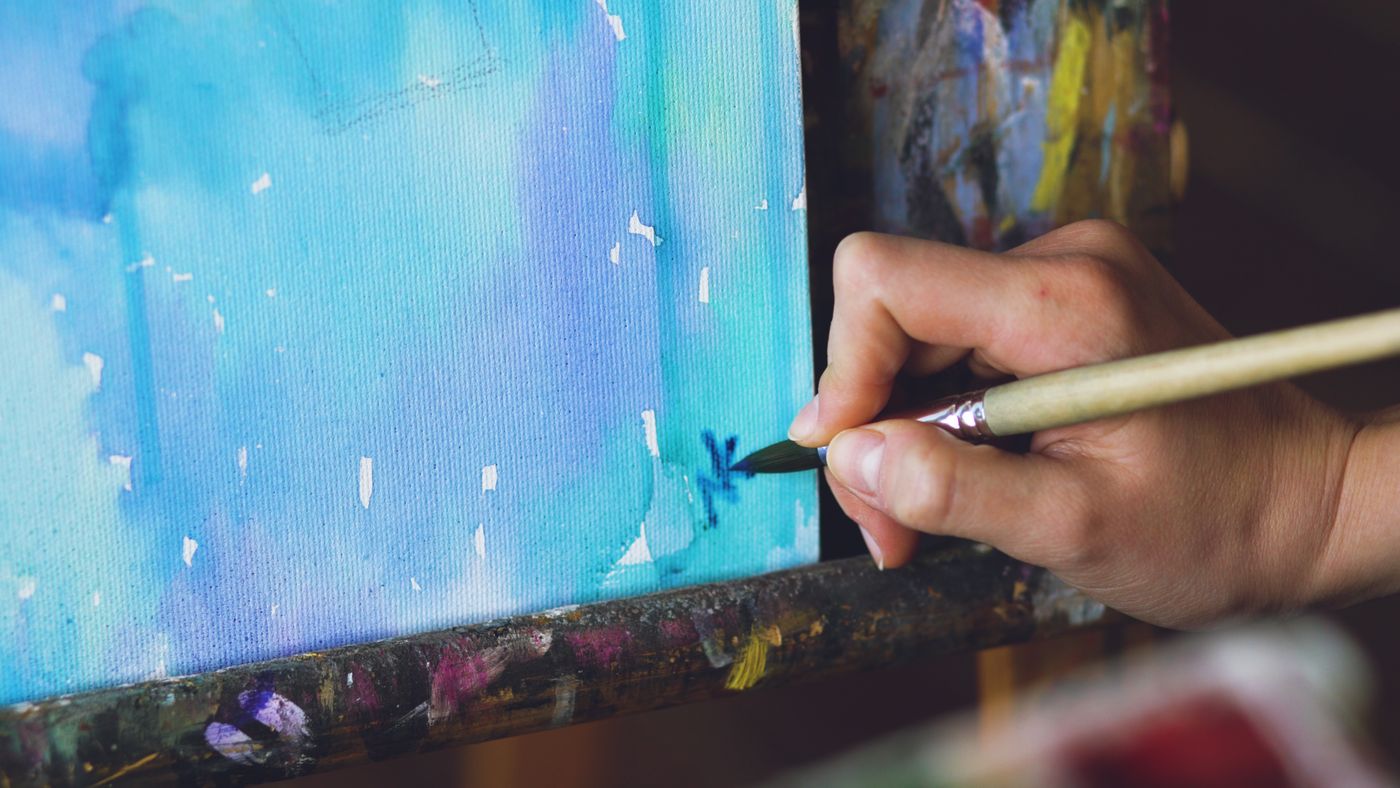
Medium is not a technical footnote. Ink, oil paint, woven fibre, carved stone, fired clay and digital pixels each behave differently, and those qualities shape what an artist can do. Look for visible evidence: a raised ridge of paint, a repeated woven pattern, a sharp cut in stone or a thin wash that lets the ground show through. Do not claim to know a material from a small online image if the surface is unclear; check the museum record or label.
The Met’s series on materials and techniques explains how the properties and limits of materials can expand our understanding of an object. Ask what the medium makes possible. Does it encourage fine detail, broad gesture, repetition, durability or movement? For a painting, you can also notice whether the colour is layered, mixed, scraped back or placed in distinct marks. Our practical colour guide is a starting point for noticing relationships between hues, not a codebook that assigns one fixed meaning to each colour.
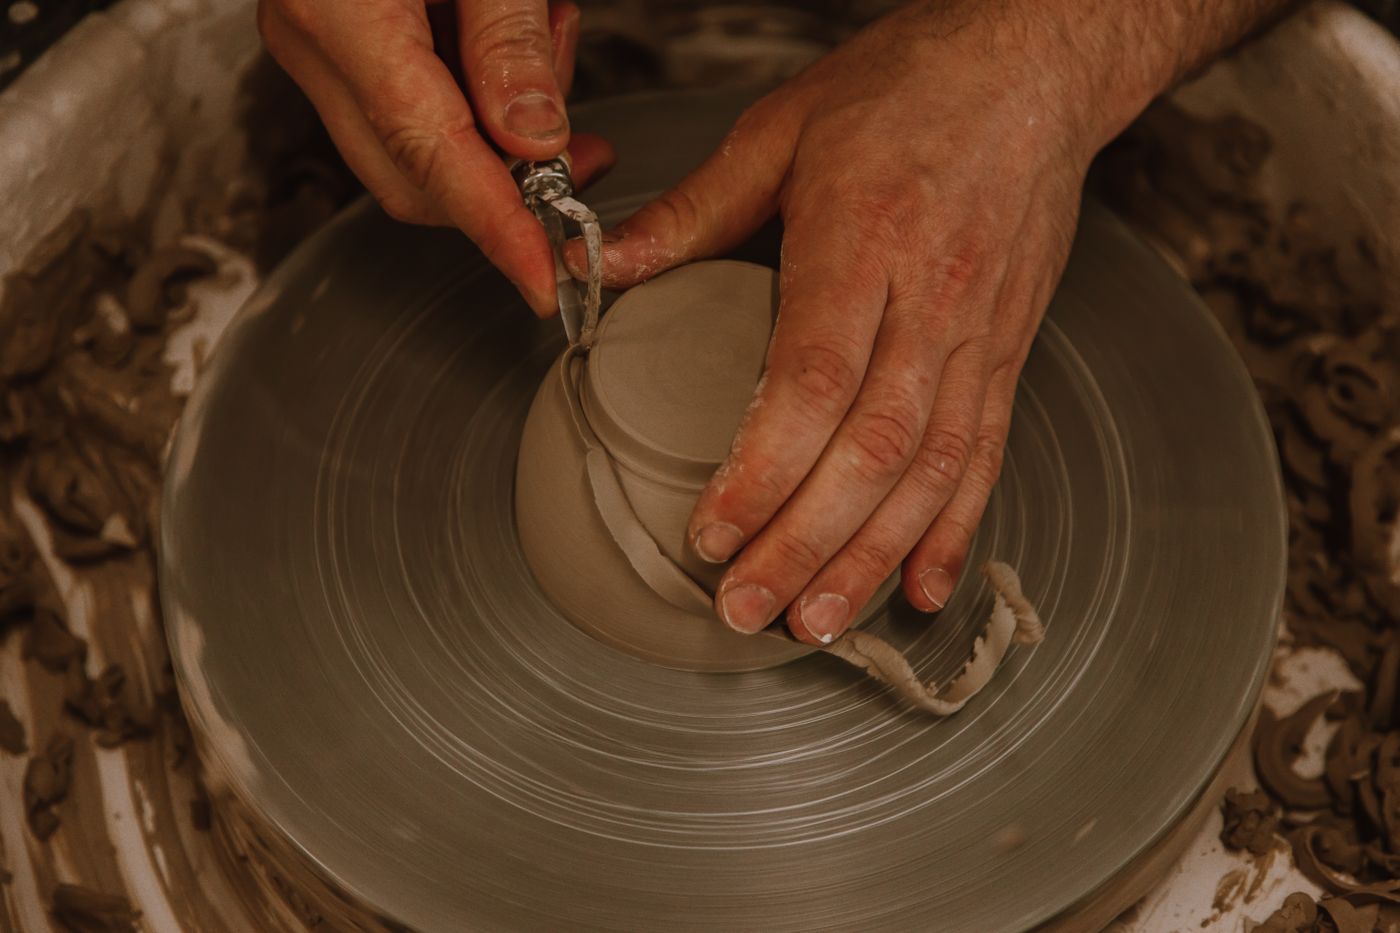
Works made in three dimensions deserve the same attention. A ceramic vessel’s curve, weight, finish and traces of handling tell a different kind of story from a flat image.
3. Add context, but let the object lead
Once you have described what you see, ask who made the work, where and when, and for whom. Was it made for a home, a place of worship, a public setting, a book or an exhibition? What local materials or processes were available? Which people had access to training, commissions and audiences—and whose work was later left out of the histories that museums and textbooks preserved?
Use reliable records to check names, dates and materials. A museum catalogue, collection page or scholarly essay is usually more helpful than a caption copied across several shopping or image sites. Context can change how a detail reads, but it should clarify the work rather than replace looking. The Met’s teaching resource Looking to Connect suggests beginning with visible elements and then bringing in contextual information. That sequence is especially useful when a familiar label tempts you to decide what a work is before you have really seen it.
Movement names can be useful shorthand when you can explain what connects the artists and works. If you want a practical starting point, our guide shows how to recognise familiar art movements by their styles. Then ask what that label leaves out: other regions, media, makers or overlapping traditions. A label is a doorway into a history, not the whole room.
4. Separate evidence from interpretation
It is fine to have a response. The useful step is to show how you arrived at it. Write one sentence about what you see and another about what you think it might suggest: “The figures stand close together; perhaps the artist wants us to read them as a group.” The first sentence is visible evidence. The second is an interpretation that could be checked against the work’s context, other details or a reliable source.
Keep uncertainty visible when evidence is incomplete. A work may have changed over time, be separated from its original setting, or have a maker whose identity is unknown. Avoid presenting a guess about symbolism or intention as a settled fact. If two interpretations fit the visible evidence, say so and explain what additional information might help.
Comparing works can sharpen your questions. Put two objects beside each other and notice a shared feature—scale, surface, subject or pattern—then look for a difference. Do not assume that a similar-looking mark carries the same meaning across places and periods. Art history is often richer when it follows connections without flattening distinct traditions into one story.

5. Try a ten-minute close-looking exercise
- Minute 1: Name the object and write down three details you can point to.
- Minutes 2–4: Trace the composition with your eyes. Note a line, colour contrast, repeated shape or change in texture.
- Minutes 5–7: Check the object label or collection record for the maker, place, date and medium. Mark anything that changes your first reading.
- Minutes 8–10: Write one interpretation and the evidence behind it. Add a question you still cannot answer.
If you are exploring artists as well as objects, compare whose work appears in the sources you use. Our article on women artists and the different paths they took is a useful companion for thinking about careers, access and the limits of a simple timeline.
The point is not to find one hidden answer. It is to notice more, make fewer assumptions and leave room for the work to surprise you. That is a good place to begin with any art history question.